Are you frustrated by somewhat gapped or overcrowded teeth? You might think of your crooked grin as more of an aesthetic concern than a real problem, but unfortunately, misalignments can also impact your dental health. For example, it’s harder to clean teeth that are overlapped because you can’t reach all surfaces, increasing your vulnerability to tooth decay, gum disease, or other damage.
Thankfully, your dentist can straighten your smile with Clear Aligners. Continue reading to learn more about the step-by-step process of this alternative orthodontic treatment to decide if it’s right for you!
Step #1: Consultation
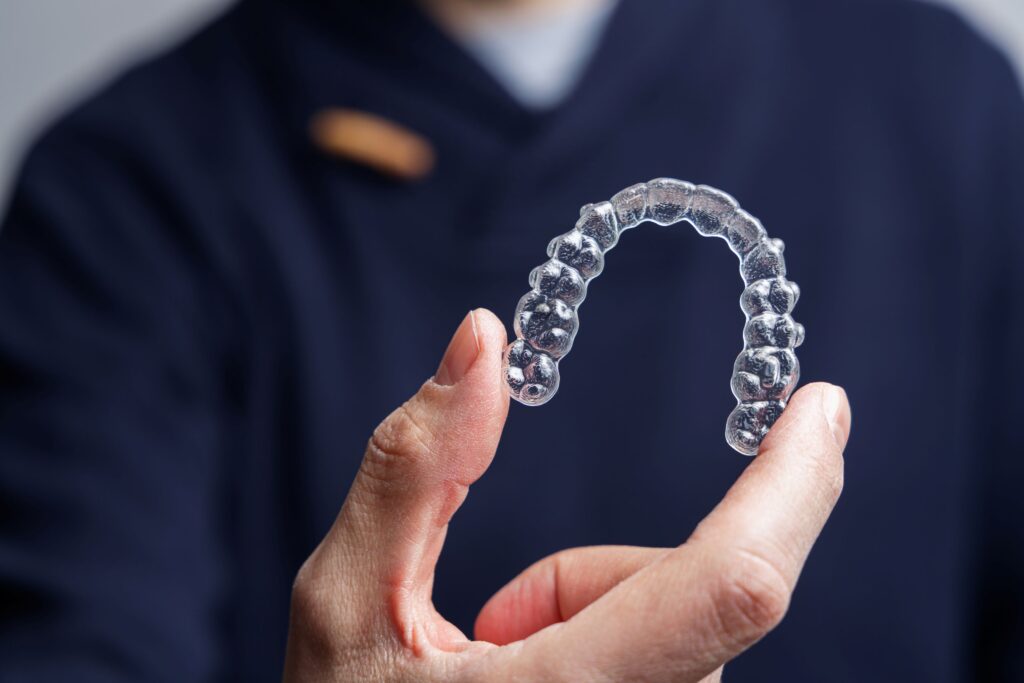
Many people want to reposition their teeth but prefer to avoid the hassle and discomfort of traditional braces. Instead of bulky metal brackets, Clear Aligners utilize more comfortable clear plastic trays. These are designed to fit snuggly over your pearly whites to shift them to their ideal placements over a designated period.
Before proceeding, you must consult with your dentist to ensure you’re a good candidate. They’ll update your medical history, discuss your goals and concerns, and examine your mouth to ensure no pre-existing issues like cavities or gum disease interfere.
Step #2: Imaging & Impressions
Next, your provider must gather all the information needed to design and create your clear aligners. This involves taking pictures of your face and smile along with X-rays to see beneath the surface. They must also make impressions of your teeth and bite alignment to ensure everything fits correctly.
All the required data is sent to the Clear Aligners site to provide their lab technicians with instructions on how to build your trays. They design each pair, which is worn for a week or two, in advance to account for the ongoing motion of your teeth.
Step #3: Delivery & Placement
Once your Clear Aligners are delivered to your dentist’s office, they’ll schedule you for a fitting. Depending on your circumstances, they may need to place additional “buttons” made of clear resin onto your enamel to provide an additional anchor for the plastic trays.
Then, your dental team will provide instructions on how to insert and remove your aligners, how to care for them, and how long you must wear them before switching to the next set.
Step #4: Follow-Up Appointments
Throughout your treatment, you’ll be required to visit your dentist periodically so they can monitor your progress and ensure you stay on track. Every four to six weeks, you’ll see your provider so they can check the current position of your teeth, verify that the current trays still fit correctly, provide the next sets you must switch to, and make any adjustments to your treatment plan if needed based on their findings. Often, treatment can be completed within 12 to 18 months if you follow your provider’s instructions and wear your aligners as directed.
Now that you know more about how Clear Aligners work, you can make an educated decision regarding upgrading your grin.
Meet the Author
Dr. Jon Kirlough has 20+ years of experience helping people build and maintain happy, healthy smiles. He graduated from The Ohio State University College of Dentistry and completed an Advanced Education in General Dentistry Fellowship at the Naval Dental Center on Parris Island. Today, he enjoys taking the time to get to know his patients so he can tailor treatment plans to meet their unique needs. He combines a caring approach with state-of-the-art equipment to improve your comfort while delivering a full range of services, including Clear Aligners. You can request an appointment on the website or call (440) 234-2445.